
Adding UDel Secure for Mac OS 10.6
Adding UDel Secure for Mac OS 10.6
- Click the AirPort icon in the upper-right corner of the screen. You will see a window that should look similar to the following:
- Click UDel Secure. You will see a window that requests the name and password for your account (if you originally set up one under System Preferences | Accounts) that should look similar to the following:
- In the Name text field, type the name of your account on the computer.
- Press TAB.
- In the Password text field, type your password for your account on the computer.
- Click OK.
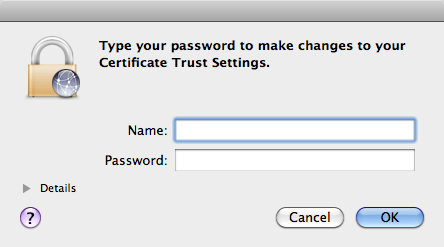
- You may see a Verify Certificate window that should look similar to the following:
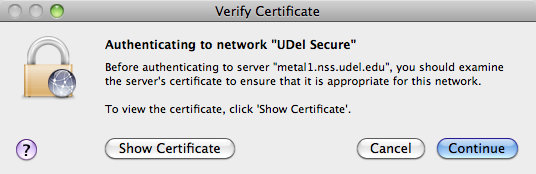
- Click Continue. You
should see a window requesting your
UDelNet ID and password for
authentication purposes, which should
look similar to the following:
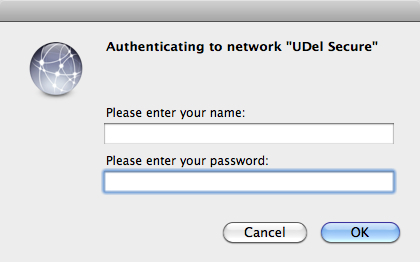
- In the Please enter your name text field, type your UDelNet ID (e.g., janedoe).
- In the Please enter your password text field, type the password for your UDelNet account.
- You should now be connected to the UDel Secure wireless network.
- Click the AirPort icon in the upper-right corner of the screen again. You will see a window that should look similar to the following:
- Click Open Network Preferences. You will see the Network window that should look similar to the following:
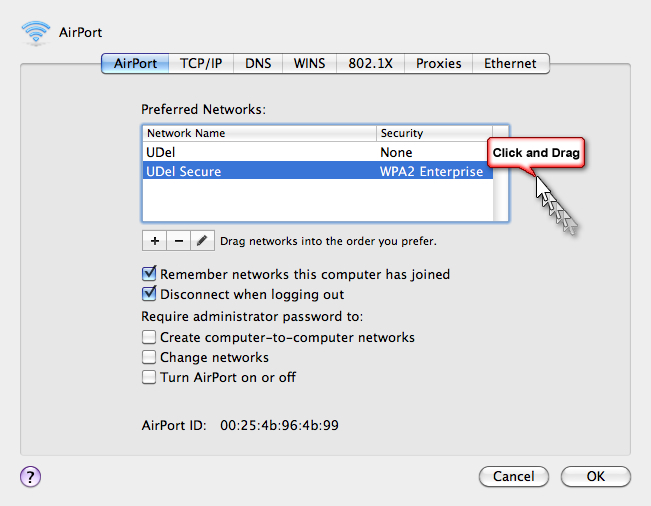
- Click the Advanced button in the lower right-hand corner of the window. You will see the AirPort window. If the UDel Secure entry is not listed first, click and drag it to the top of the list as shown in the following graphic:
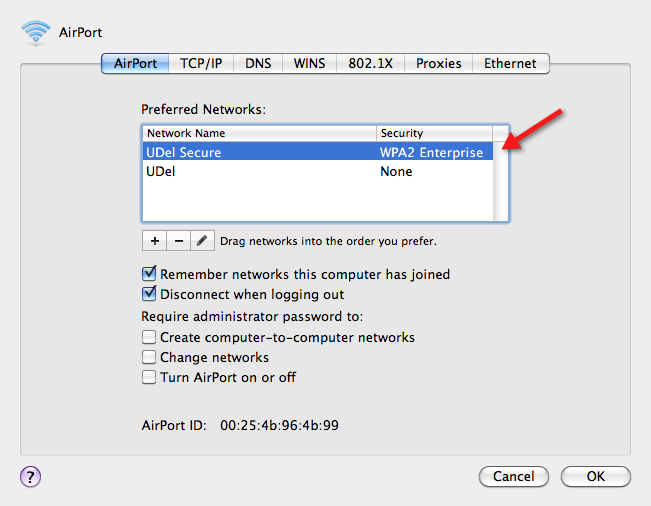
- The AirPort window
should now look similar to the
following—with UDel Secure listed
first.
Removing UDel Secure from Mac OS 10.6
- Click the AirPort icon in the upper-right corner of the monitor. You will see a window that should look similar to the following:
- Click Open Network Preferences. You will see the Network window that should look similar to the following:

- Click the drop-down arrow to the right of Network Name.
- Click UDel Secure.
- Click the Advanced button in the lower right-hand corner of the window. You will see the AirPort window that should look similar to the following:
- Click the 802.1X tab near the top of the window. The AirPort window should now look similar to the following:
- On the left-hand side of the window, click the arrow in front of User Profiles.
- Click WPA: UDel Secure.
- Click the minus sign (–) at the bottom-left side of the column. The window should now look similar to the following:
- Click OK. A connection to the UDel Secure network will now be unavailable to you until you re-add it following the instructions above.
