
How to Disable the System Restore Utility on a Windows Vista Computer
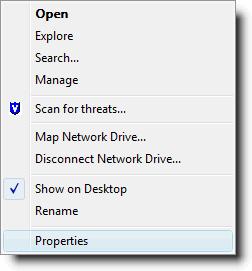
- Left click the Start button in the lower-left corner of your computer's desktop. You wil see a list of options similar to those shown below:

- Right click Computer in the list of options.
- Click Properties as shown in the
graphic below:
- You will see the System window that looks similar to the graphic below:
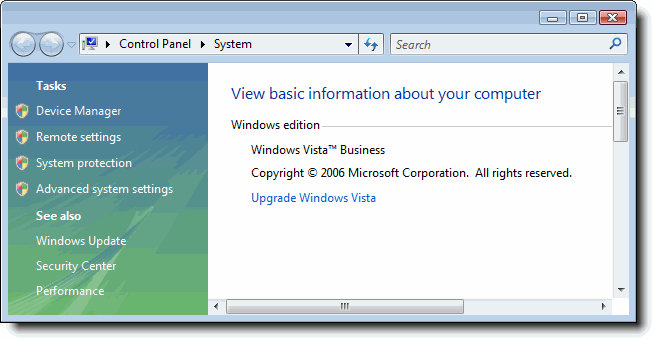
- In the left-hand column, click System protection. If you see a User Account Control window, click Continue. You will see the System Properties window that looks similar to the graphic below:
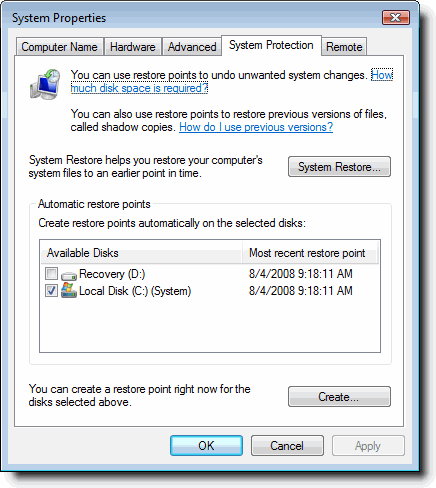
- In the middle of the window, you will see an area labeled Automatic restore points as shown in the graphic below:
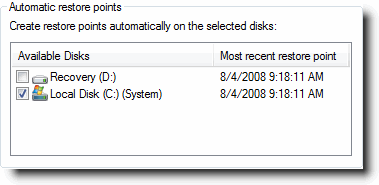
- To turn off automatic restore points, click the check mark in the checkbox in front of Local Disk (C:) (System). You will see the System Protection window, which asks you to verify that you want to turn system restore off.
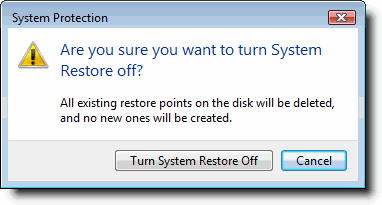
- Click Turn System Restore Off.
- The System Properties window should now look similar to the graphic shown below—the checkmark has been removed.
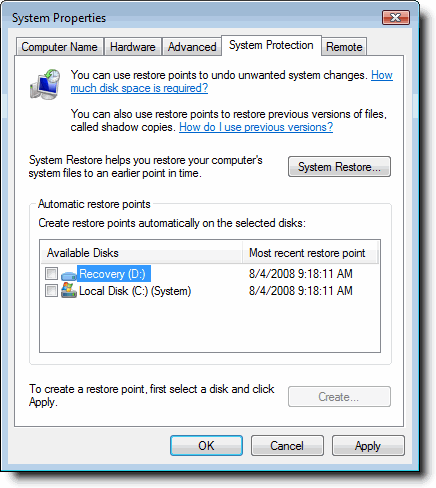
NOTE
After cleaning and updating your computer, you should re-enable
this utility. To turn the system restore back on, follow these steps:
- Click in the check box in front of Local Disk (C:) (System). The System Properties window will now look similar to the graphic below:

- Click Apply.
- Click OK.
McAfee Anti-Virus Software for
Windows Computers
IT Help Center
Anti-virus
comments or suggestions
Last updated
August 4, 2008
Copyright © 2004 University of Delaware
