Setting up the Mail Application on an iPhone or iPod Touch to Access Your UD E-mail Account
NOTE
Faculty and staff who use the
UD Exchange server, please refer to the instructions located on the Exchange server Web site.
Individuals may also find the information on Setting up Your Smartphone to Access Your UD E-mail Account helpful.
- While your device is turned on, from the Home screen of your iPhone or iPod Touch, select Settings, which looks similar to the following:

- Select Mail, Contacts, Calendar.
- Under Accounts select Add Account.
- Select Other from the list of account types.You should see a New Account screen.
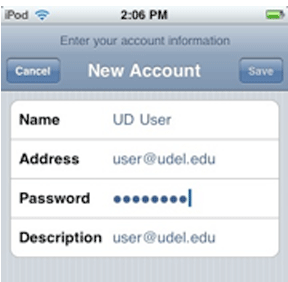
- In the Name text field, type your name as you would like it to appear.
- In the Address text field, type your UD e-mail address with the @udel.edu ending (e.g., user@udel.edu as shown in the graphic below).
- In the Password text field, type the password for your UD e-mail account. The screen should now look similar to the following:

- Select Save in the upper-right corner of the screen.
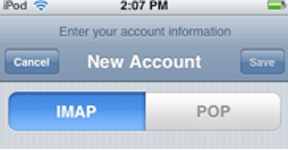
- On the next screen, select IMAP (if necessary) in the upper-left corner as shown in the following graphic:

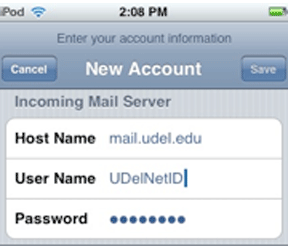
- Under the Incoming Mail Server section, enter the following information:
- In the Host Name text field, type mail.udel.edu
- In the User Name text field, type your UDelNet ID (i.e., the begining of your UD e-mail address without the @udel.edu--for example, UDelNetID as shown in the following graphic).
- If it is not already present, in the Password text field, type the password for your UD e-mail account. The screen should now look similar to the following:

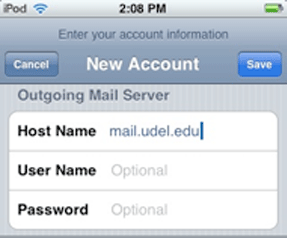
- Scroll down until you see the Outgoing Mail Server section of the screen. Enter the following information:
- In the Host Name text field, type mail.udel.edu
- Leave both the User Name and Password text fields blank--do not enter any text in these fields. The screen should now look similar to the following:

- Select Save in the upper-right corner of the screen.
- The device will begin a verification process that may take a few minutes.
Last updated
January 21, 2010
