Downloading
the Student Free-Trial Version of Serf®
|
Serf is an advanced
ASP.NET Web creation environment invented by the author for the purpose
of creating database-driven portals and instructional management systems
on the World Wide Web. There are two ways to use Serf. First, you
can run it in a turnkey mode as a self-contained package that automatically
creates the screens for you. Most installations run Serf in this turnkey
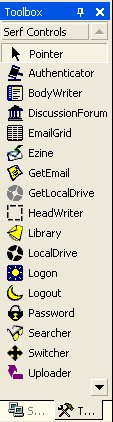
mode. Second, authors who have Visual Studio can add the Serf controls
to the Visual Studio toolbox, from which you can drag them onto your
design surface to create highly customized applications that are powered
by the Serf database.
The free-trial student demonstration version is a fully functioning
copy of the retail product with one important limitation: it will
only serve users who log on from the server on which it is installed.
If someone tries to log on from a different IP address, Serf will
inform them politely that this is a free-trial student demonstration
version that must be licensed in order to serve other users. Licensing
is explained at the retail Serf
Web site.
To download and install the student free-trial version of Serf,
follow these steps:
- Download
the Serf setup file by clicking its filename: SerfSetup.msi.
- When your
computer asks whether you want to run or save the setup file,
choose the option to save it on your PC.
- To install
Serf, click the Windows Start button, choose Run, and run the
SerfSetup.msi file you saved in the previous step.
- Before you
can run Serf, you need to create a Microsoft SQL Server database
and configure Serf to use that database. Step-by-step instructions
are provided in the Serf Sysadmin
Guide.
- Depending
on how much you want to know about Serf, you can also review the
other Serf manuals, which you can download by following these
links:
|
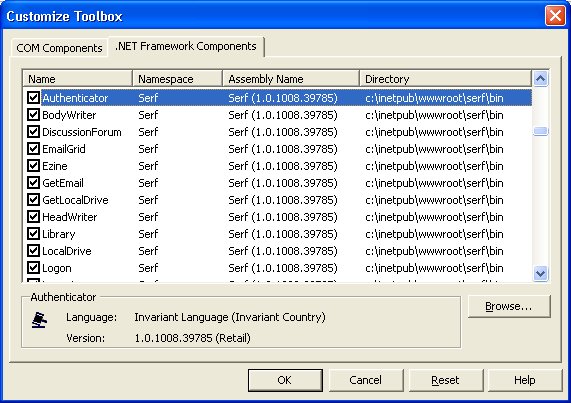
Adding
Serf Controls to the Toolbox
|
After you install
Serf, it will come up as a turnkey system that will automatically
begin generating the screens for you. When you log on to Serf as an
administrator, for example, all of the administrative screens will
be available to you, including the ability to register end users.
In addition to having Serf generate these kinds of screens in turnkey
mode, advanced authors can take Serf apart, so to speak, by separating
it into components that you can add to the Visual Studio toolbox.
To add the Serf controls to the toolbox, follow these steps:
- Use Visual
Studio to open the project of your choice.
- Right-click
any item inside the toolbox.
- When the
quick menu pops out, choose Add Tab.
- At the bottom
of the toolbox, your cursor will be flashing inside the newly
added tab.
- Type the
name you want the new tab to have. In this example, type Serf,
then press Enter.
- The newly
added tab appears at the bottom of the toolbox.
- Right-click
anywhere inside the Serf tab to pop out the quick menu, and choose
Customize Toolbox to bring up the Customize Toolbox dialog.
- Click the
.NET Framework Components tab to reveal the registered server
controls.
- Click the
Browse button, and navigate to the folder that contains the dynamic
link library named Serf.dll. Depending on the configuration of
your hard drives, the path to this library is probably c:\inetpub\wwwroot\serf\bin.
- Click the
file named Serf.dll to select it, then click the Open button.
- Click Namespace
to sort the controls by namespace, then scroll down to find the
Serf controls listed under the Serf namespace, as illustrated
below.
- Click to
check the Serf controls you want (probably all of them), and then
click OK to close the Customize Toolbox dialog.
- The Serf
controls will appear on the Serf tab of the toolbox.
- Now you can
create highly customized pages powered by the Serf environment.
|
|
|
|