Dowloading Critical Updates Manually | Installing Microsoft Update | Configuring Automatic Updates
After you have connected your computer to the Internet, it is important that you download and install the critical updates that Microsoft has released for the Windows operating system. In particular, these updates close security vulnerabilities that can allow a malicious user to access your system.
As of July 2006, Microsoft no longer supports Windows 95, 98, or ME. As of October 2006, Microsoft will no longer support versions of Windows XP with Service Pack 1 (SP1). Microsoft will allow Windows XP users to update to Windows XP SP2 for free. Make sure that your computer is running a version of Windows supported by Microsoft.
Users of all supported versions of the Microsoft Windows operating system can visit Microsoft's Windows Update web site (windowsupdate.microsoft.com). That web site should automatically take you to the correct set of updates for your computer's version of the Windows operating system and, after you set things up as shown below, the correct updates for other Microsoft software installed on your computer. (Note: You must use Internet Explorer to visit the Windows Update site.)
Microsoft never sends patches by e-mail. Beware of e-mail claiming to be from Microsoft with attached Windows patches. Microsoft does provide an alert service informing subscribers when security updates are released. However, that service refers users to the standard Microsoft update procedures.
The directions below show you how to do this for the Windows XP and 2000 operating system, using the Windows Update selection from your computer's Start menu.
Downloading Critical Updates Manually
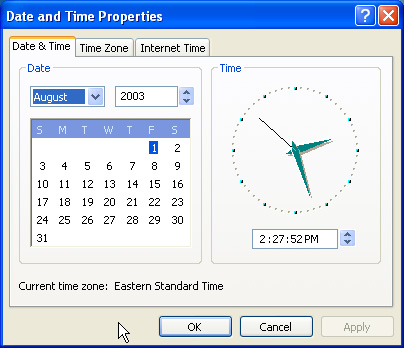
- In order for Windows Update to function properly, your computer's date needs to be set correctly. Before running Windows Update for the first time, check your computer's date setting to be sure it's accurate.
Go to the Date and Time Properties window. You can get there by right-clicking on the clock in your computer's toolbar and then selecting Adjust Date/Time. You can also get there by selecting Date and Time from the Control Panel.
Set the date and time if necessary. Then click OK.
- Click on your computer's Start button.
- Select Windows Update. You will usually find it either on the Start menu or on the Start menu's listing of All Programs. If you don't see it in either place, open Internet Explorer, then from the Tools menu, select Windows Update.
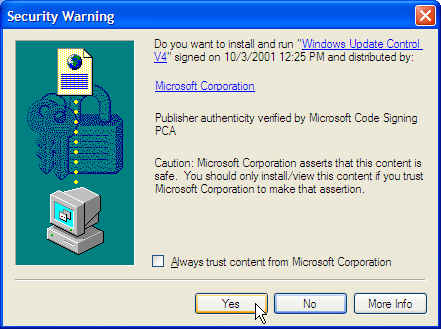
- You may be prompted with a Security Warning. If so, select Yes.
This will start Internet Explorer and go to the Windows Update site.
Note: If you prefer, you can use Internet Explorer to go directly to the Windows Update site (windowsupdate.microsoft.com) instead of using the Windows Update selection on the Start menu.
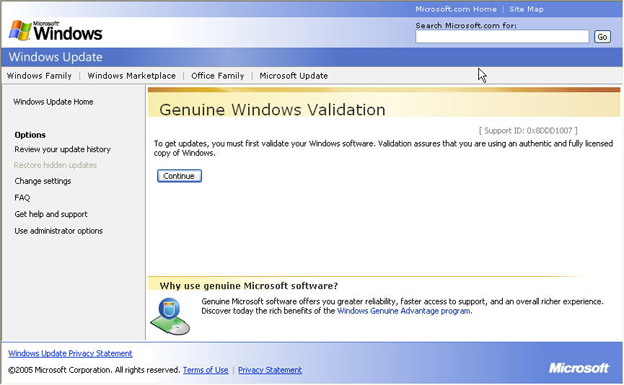
- If this is the first time you have gone to the Windows Update site, Microsoft's web site will check your system for a valid license for the Windows operating system.
Click Continue.
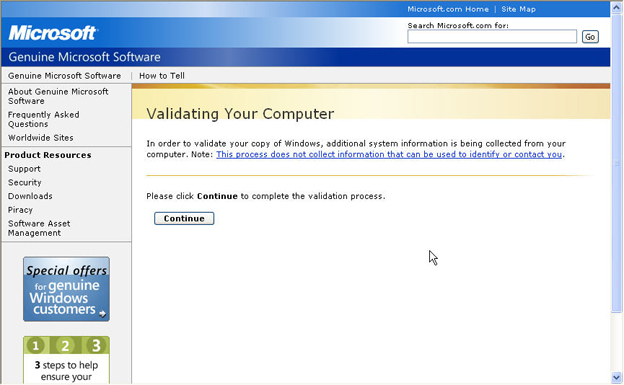
Click Continue.
If the site senses that your copy of Windows XP is not valid, you will not be able to install any Windows updates manually. Follow the instructions from the Microsoft Web site to validate your copy of the operating system or to acquire a licensed copy.
If your software's license validates properly, you'll see a web page like the one below.
Click Continue.
Click the Start Now button on the next screen.

If prompted to review a license agreement for the updates, do so, then select Continue or Accept.
If you are using a new computer or one on which you have not installed Microsoft ActiveX control, you may see a screen like the one below:
If so, follow the directions on the screen.
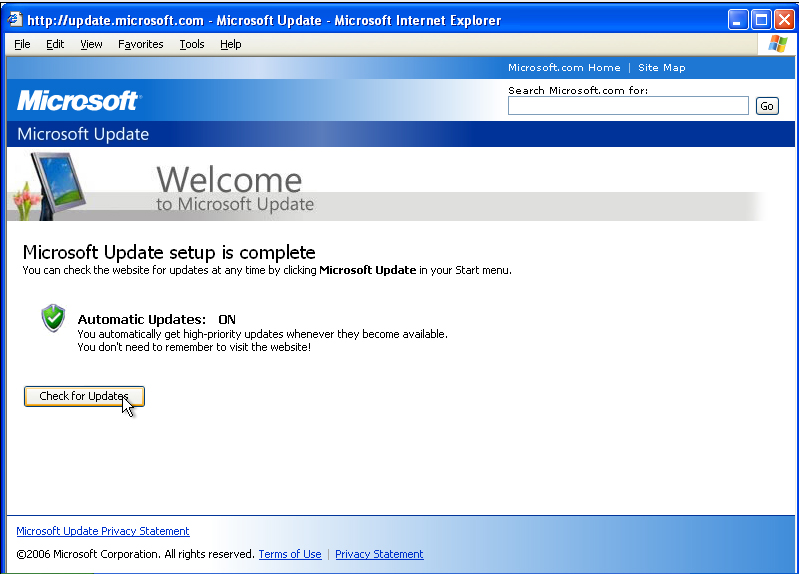
After Microsoft Update is set up you'll see a web page like the one below:
Select Check for Updates.
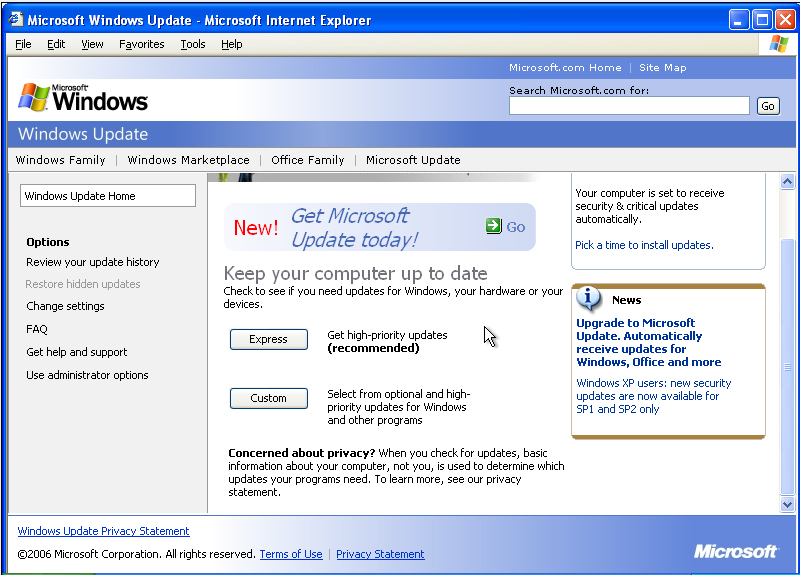
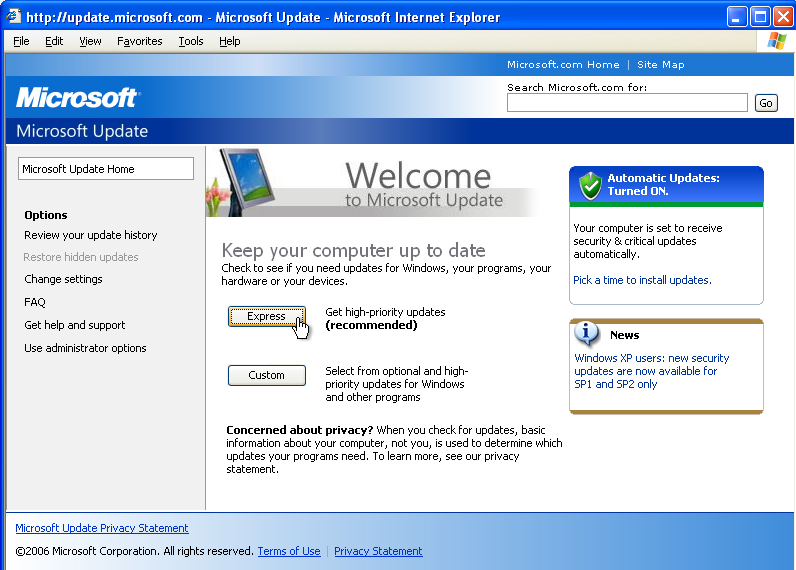
Next, you'll see the Welcome to Microsoft Update web page.
Select Express to check for all high-priority Microsoft updates.
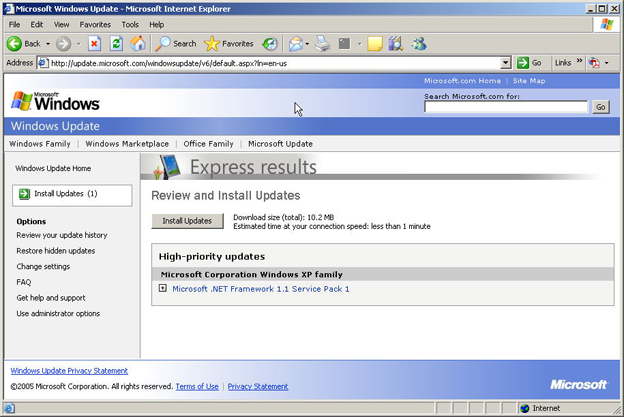
Select Install Updates from the next web page.
If prompted to review a license agreement for the updates, do so, then select Accept.
While the critical updates are downloaded and installed, a screen showing the status of the installation will be displayed.
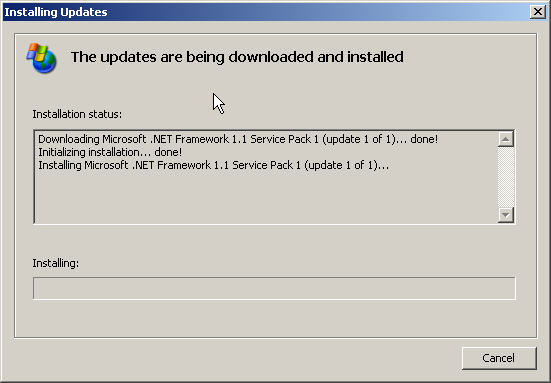
Upon completion, you will be prompted to restart your system. Select Restart Now.

Your system will reboot with the critical updates installed. You should repeat these steps until all critical updates are installed. When you see the message No high-priority updates for your computer are available, all critical updates have been installed. In order to keep your system protected on an ongoing basis, you should activate Automatic Updates. To do this, right-click My Computer (on your computer's desktop or on the Start menu), then select Properties. Select the Automatic Updates tab.
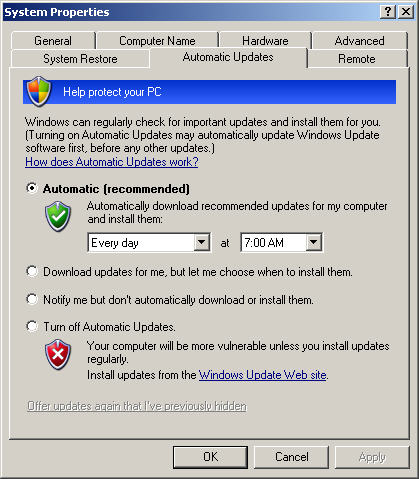
Make certain that Automatic (recommended) is selected. Set the frequency to Every day and the time to an hour when your computer is usually turned on. (If your computer is turned off at that time, the system will check for updates the next time it is turned on.)
Click OK when you are finished.
Computer Security at the University of Delaware
UDeploy Software Site
IT Help Center
Follow the Code of the Web
Last modified, August 10, 2006
Copyright © 2002-2006 University of Delaware