Installing and Using the SSH Secure Shell File Transfer Client
with the Sheaf Server

How to Install SSH Secure Shell | How to Delete the Installation File |
How to Set Up a Connection to Sheaf | How to Transfer Files to Sheaf Using the SSH Secure File Transfer Client

Note
These instructions are written for a computer running Windows XP. If you are using a different version of Windows, some of the dialog boxes may appear slightly different than those depicted. However, the function of dialog boxes should remain the same.

How to Install SSH Secure Shell

  1. Open your web browser program (e.g., Netscape Communicator or Internet Explorer).
  2. In the Location field, type the following URL:

    http://udeploy.udel.edu/Win/Docs/ssh.html
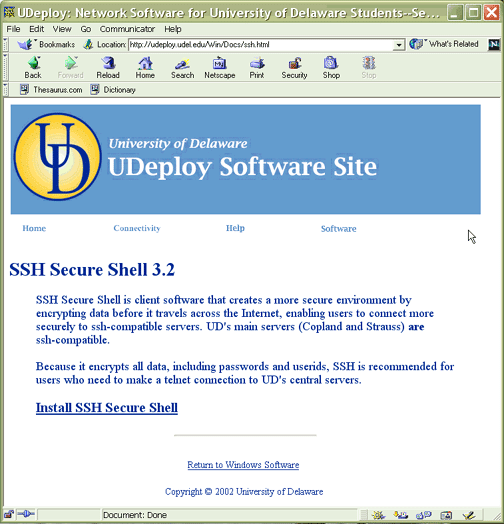
  3. You should see a screen similar to the following one:
  4. Press ENTER.
  5. Click the Install SSH Secure Shell link.
  6. You should see the Save As dialog box, which looks similar to the following one:
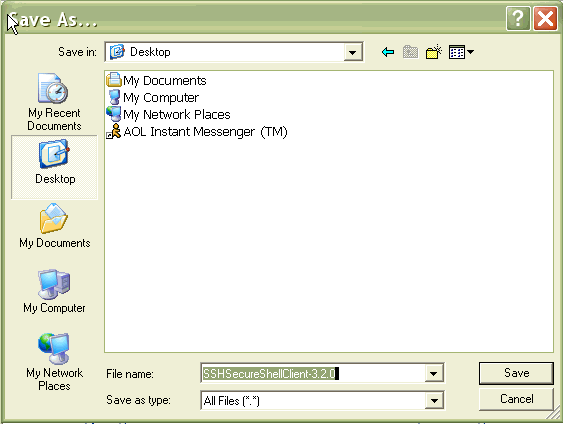
  7. In the Save As dialog box, click the Desktop icon in the left column of the dialog box. This icon represents your computer's desktop and is where the file you are downloading will be saved.

  8. Click Save.
  9. Close the browser program and any other programs that are open.
  10. Locate the file named SSHSecureShellClient-3.2.0 on the desktop--you may not see the full name until you click the icon. The icon looks similar to the following one:

  11. Double-click the icon to execute the installer. The installer program will extract the files needed to install the program.
  12. You should see the SSH Secure Shell for Workstations 3.2 Setup dialog box, which looks similar to the following one:

  13. Click Next.
  14. Click Yes to accept the license agreement.
  15. You should see the Choose Destination Location dialog box, which looks similar to the following one:
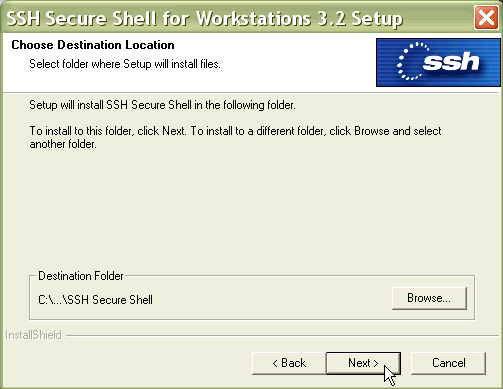
  16. Click Next.
  17. You should see the Select Program Folder dialog box, which looks similar to the following one:

  18. Click Next.
  19. You should see the Select Components dialog box, which looks similar to the following one:
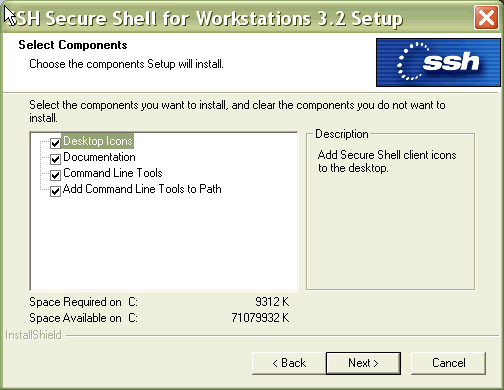
    Make sure that all checkboxes on the left side of the screen contain a check mark.

  20. Click Next.
  21. You should see the Check Setup Information dialog box, which looks similar to the following one:
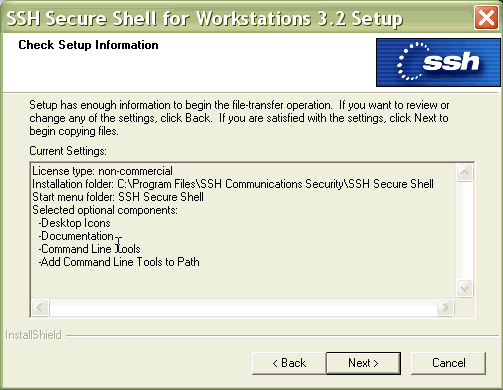
  22. Click Next. The program will then install automatically. You will see the progress of the installation process on the progress bar.
  23. When the program is successfully installed, you should see the Setup Complete dialog box, which looks similar to the following one:
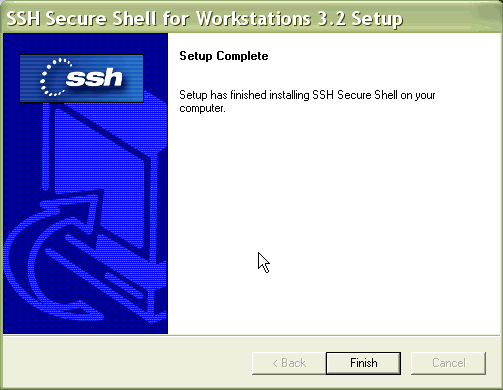
  24. Click Finish.


How to Delete the Installation File

You do not need the installation (.exe) file after you have installed the program, so you can delete it. If you follow these instructions, you will only delete the file used to install SSH Secure Shell, not the program itself.
  1. On the desktop, use the right mouse button to click the SSHSecureShellClient-3.2.0 icon on the desktop.
  2. From the drop-down menu, select Delete.
  3. To delete the file, click Yes.


How to Set Up a Connection to Sheaf

  1. Double-click the SSH Secure Shell File Transfer Client desktop icon, which looks similar to the following one:

    Note
    You will only need to do this step the first time you connect to sheaf each working session.

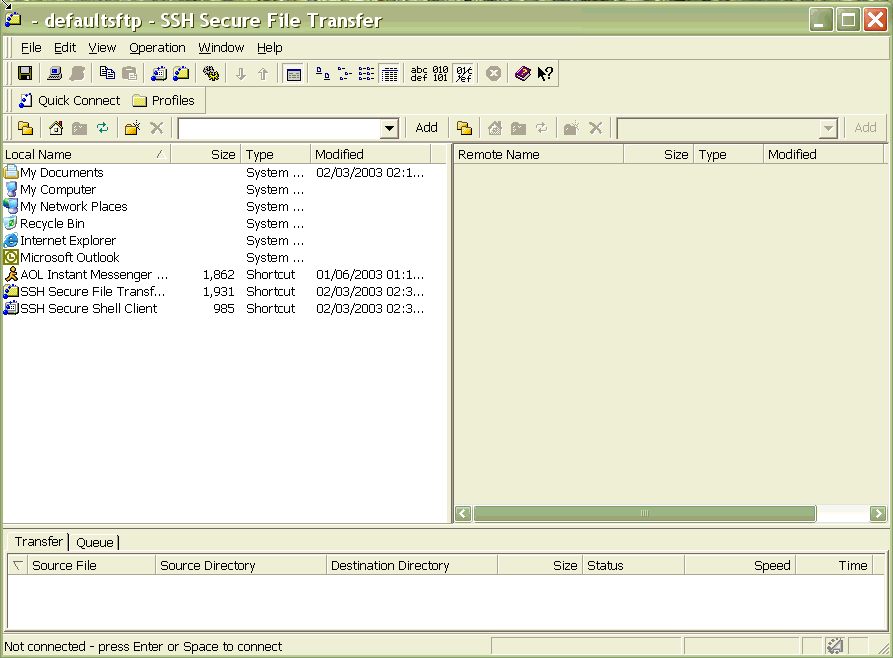
  2. You should see the SSH Secure File Transfer dialog box, which looks similar to the following one:

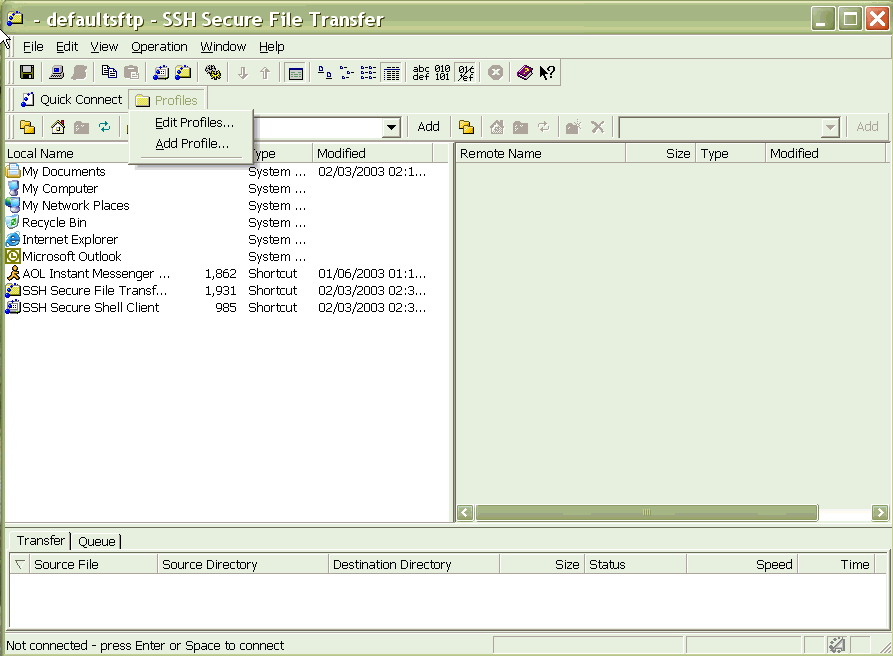
  3. Click the folder icon to the left of the Profiles Menu.
  4. You should see a dialog box that looks similar to the following one:

  5. Select Add Profile.
  6. You should see a dialog box that looks similar to the following:

  7. In the Add Profile dialog box, type

    sheaf
  8. Click Add to Profiles.
  9. Click the folder icon to the left of the Profiles Menu.
  10. Select Edit Profiles.
  11. On the left side of the screen, select sheaf under the Profiles folder.

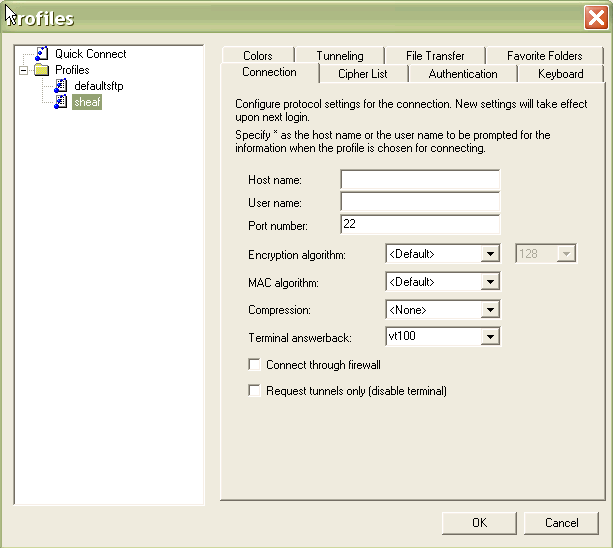
    You should see the Profiles dialog box, which looks similar to the following one. The right side of the screen contains fields for setting up a connection to sheaf.

  12. In the Host name field, type

    sheaf.nss.udel.edu
  13. Press the TAB key.
  14. In the User name field, type your UNIX username--the part of your e-mail address before the @udel.edu.
  15. Use the drop-down arrow to the right of the Terminal answerback field to select xterm.
  16. Click OK.
  17. On the left side of Profiles dialog box, click the defaultsftp profile.
  18. In the Host name field, type the path to the folder into which you want to transfer files.

    For example, /opt/home/psoft/clientSw/hr/io/usert1/department directory

    inserting the appropriate department directory from the following list:

    • Ag--ag
    • Bookstore--bk
    • Development--devel
    • Library--library
    • Review--review
    • Student Center--sctr
    • User Services--us
  19. Click OK.


How to Transfer Files to Sheaf Using the SSH Secure File Transfer Client

Important note
Before you can use the program properly, you must create two new folders on your computer--c:\time and c:\My Documents\timesheets. If you have not yet done so,
follow the instructions to do so before proceeding.
  1. Open the SSH Secure Shell File Transfer Client. (Skip this step if the program is already open.)
  2. To log on to sheaf, click the Profiles Menu.
  3. Select sheaf.

    If this is the first time that you are logging in, you should see the Host Identification dialog box appear. It should look similar to the following:

  4. Click Yes.
  5. In the Enter Password dialog box, type your password.
  6. Click OK.
  7. To upload files, click the white upward pointing arrow on the toolbar, which looks similar to the following one:

    You should see a dialog box that looks similar to the following one:

  8. Double-click the time folder. (Note: If you have not yet created a c:\time and a c:\My Documents\timesheets folder, follow the instructions to do so before proceeding).
  9. Double-click the c:\time folder.
  10. Select the file(s) you want to transfer (.dat files).

    Note
    You can select multiple files by holding down the CONTROL key and clicking the name of each file.

  11. Click Upload.
  12. To close the connection to sheaf, from the File Menu, select Disconnect.
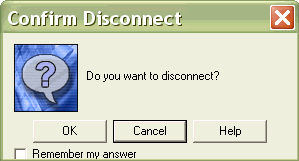
  13. You should see the Confirm Disconnect dialog box, which looks similar to the following one:

  14. Click OK.
  15. To exit the program, from the File Menu, select Exit.
  16. You should see a dialog box that looks similar to the following one:

    The program will close.


Copyright © 2002, University of Delaware
Last updated February 13, 2003