Using the SSH Secure File Transfer Client

How to Install SSH Secure Shell | How to Delete the Installation File |
How to Set Up a Connection to Sheaf | How to Transfer Files to Sheaf Using the SSH Secure File Transfer Client

How to Install SSH Secure Shell

  1. Open your web browser (e.g., Netscape Communicator or Internet Explorer).
  2. In the Location field, type

    http://www.udel.edu/sw/win/ssh.html
  3. Click the Download SSH Secure Shell link.
  4. You should see a dialog box that looks similar to the following:
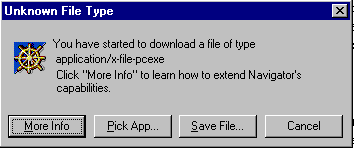
  5. Click Save File.
  6. You should see the Save As dialog box, which looks similar to the following:
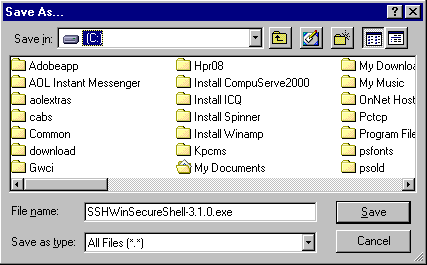
  7. In the Save As dialog box, click the small icon in the top right part of the dialog box that looks similar to the following graphic:

    This icon represents the computer's desktop and is where your file will be saved.

  8. Click Save.
  9. Close the browser and any other open programs.
  10. Find the file named SSHWinSecureShell-3.1.0.exe on the desktop. The icon looks similar to the following:
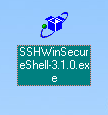
  11. Note: you may not see the full name until you click the icon.

  12. Double-click the icon to execute the installer. The installer program will extract the files needed to install the program.
  13. You should see the InstallShield Wizard dialog box, which looks similar to the following:
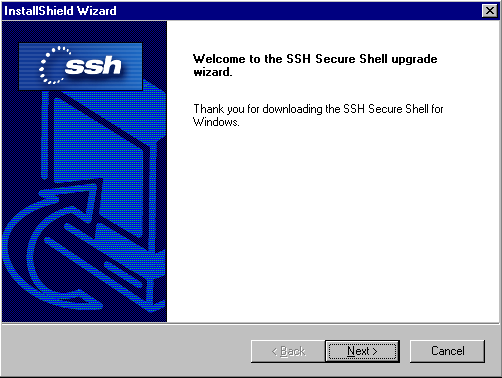
  14. Click Next.
  15. Click Yes to accept the license agreement.
  16. You should see the Choose Destination Location dialog box, which looks similar to the following:
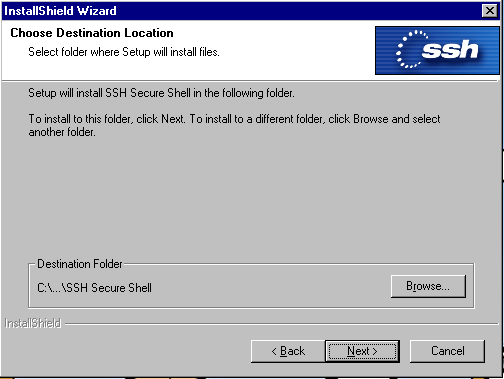
  17. Click Next.
  18. You should see the Select Program Folder dialog box, which looks similar to the following:
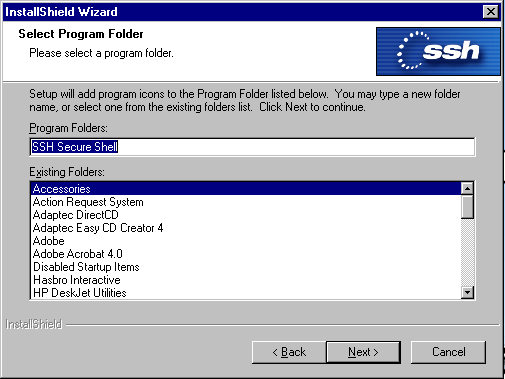
  19. Click Next.
  20. You should see the Select Components dialog box. Make sure that all checkboxes contain a check mark. Click Next.
  21. The program will install automatically. The installation progress can be seen on the progress bar.

  22. When the program is successfully installed, in the InstallShield Wizard Complete dialog box, click Finish.


How to Delete the Installation File

You do not need the installation (.exe) file once you have installed the program, so you can delete it. If you follow these directions, you will only delete the file used to install SSH Secure Shell, not the program itself.
  1. Use the right mouse button to click the SSHWinSecureShell-3.1.0.exe icon on the desktop.
  2. From the drop-down menu, select Delete.
  3. Click Yes to delete the file.


How to Set Up a Connection to Sheaf

  1. Double-click the SSH Secure Shell File Transfer Client desktop icon, which looks similar to the following:

    Note: You will only need to do this step the first time you connect to sheaf each working session.

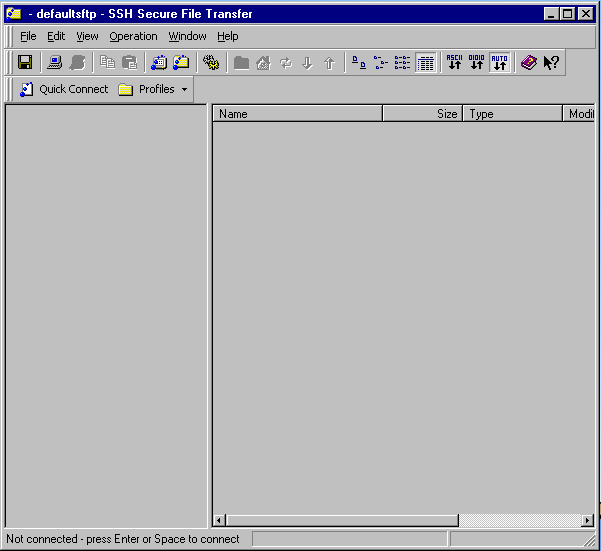
  2. You should see the SSH Secure File Transfer dialog box, which looks similar to the following:

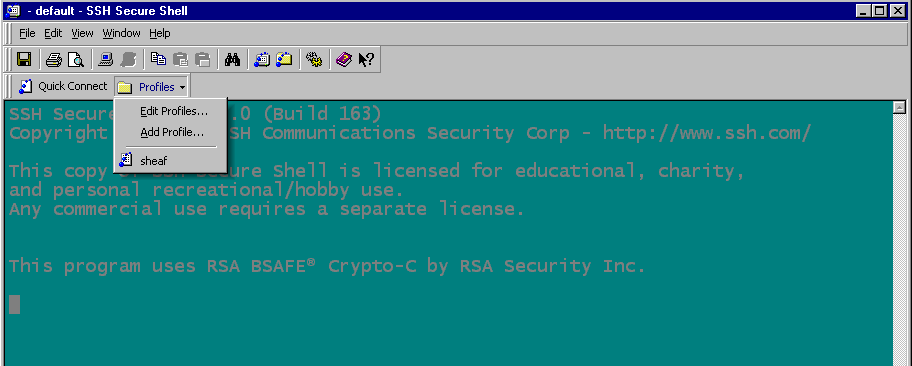
  3. Click the drop-down arrow to the right of the Profiles Menu.
  4. You should see a dialog box that looks similar to the following:

  5. Select Add Profile.
  6. You should see a dialog box that looks similar to the following:

  7. In the Add Profile dialog box, type

     
    sheaf
  8. Click Add Current Connection to Profiles.
  9. Click the drop-down arrow to the right of the Profiles Menu.
  10. Select Edit Profiles.
  11. On the left side of the screen, select sheaf under the Profiles folder.

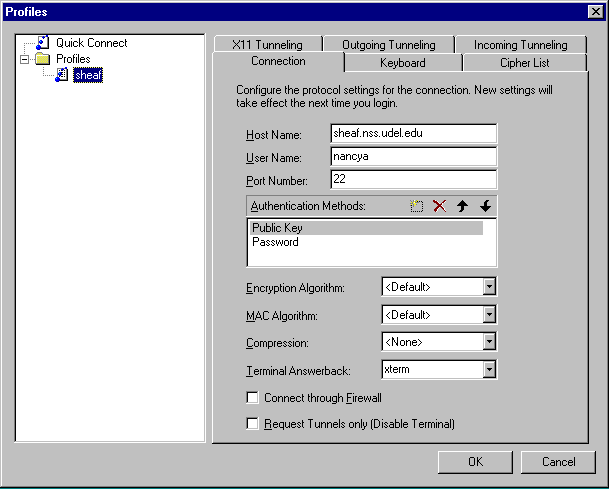
    You should see the Profiles dialog box, which looks similar to the following. The right side of the screen contains fields for setting up a connection to sheaf.

  12. In the Host Name field, type

    sheaf.nss.udel.edu
  13. Press the TAB key.
  14. In the User Name field, type your UNIX username--the part of your e-mail address before the @udel.edu. In the above example, the username "nancya" is used.
  15. Use the drop-down arrow to the right of the Terminal Answerback field to select xterm.
  16. In the Default SFTP Directory field, type the path to the folder into which you want to transfer files. For example, /opt/home/psoft/clientSw/hr/io/usert1/department directory

    Insert the appropriate department directory from the following list:

    • Ag--ag
    • Bookstore--bk
    • Development--devel
    • Library--library
    • Review--review
    • Student Center--sctr
    • User Services--us
  17. Click OK to save the settings
  18. .


How to Transfer Files to Sheaf Using the SSH Secure File Transfer Client

  1. Open the SSH Secure Shell File Transfer Client. (Skip this step if the program is already open.)
  2. To log on to sheaf, click the drop-down arrow to the right of the Profiles Menu.
  3. You should see a dialog box that looks similar to the following:

  4. Select sheaf.
  5. In the Enter Password dialog box, type your password.
  6. Click OK.
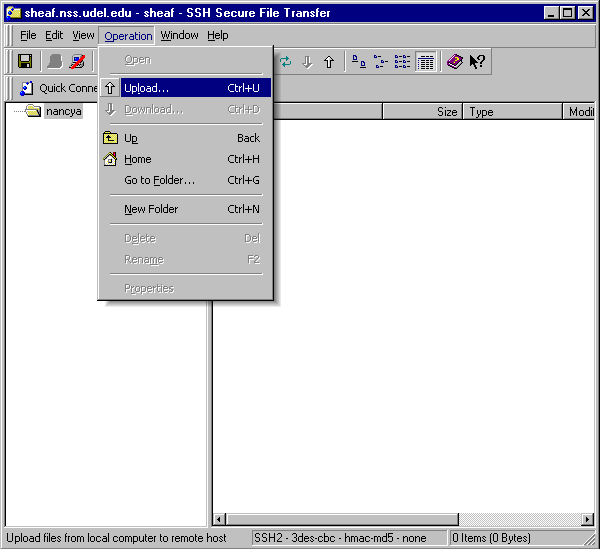
  7. From the Operation Menu, select Upload. (You can also start the upload process by clicking on the white upward pointing arrow on the toolbar.)
  8. You should see a dialog box that looks similar to the following:

  9. Select the file(s) you want to transfer (.dat files) from c:\time folder.
    Note: You can select multiple files by holding down the CONTROL key and clicking the name of each file.
  10. Click Upload.

  11. The file(s) should now be transferred to the appropriate folder on sheaf.
  12. To close the connection to sheaf, from the File Menu, select Disconnect.
  13. You should see a dialog box that looks similar to the following:

  14. In the Confirm Disconnect dialog box, click Yes.
  15. To exit the application, from the File Menu, select Exit.
  16. You should see a dialog box that looks similar to the following:

    The program will close.


Copyright © 2002, University of Delaware
Last updated May 24, 2002