Fetch is a secure file transfer (SFTP) client for Macintosh systems. It is licensed for use by University students, faculty and staff and is available for download from the UD Software Distribution web site. If you read the help files included with Fetch 5 you can teach yourself to use Fetch for a variety of file management tasks. This document gives you a quick introduction to transferring files with Fetch 5.
Installing Fetch | Starting Fetch | Transferring Files | Consulting Fetch's Help
- Download Fetch 5 from the UD Software Distribution web site.
On the Fetch software page, click Fetch FTP 5.7 with code to download the software and to be taken to a page that contains the information you will need to activate the software.
- Locate the icon for the compressed version of Fetch on your computer's hard drive or desktop.

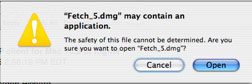
If you see a message box that says: " 'Fetch_5.dmg' may contain an application," click Open.
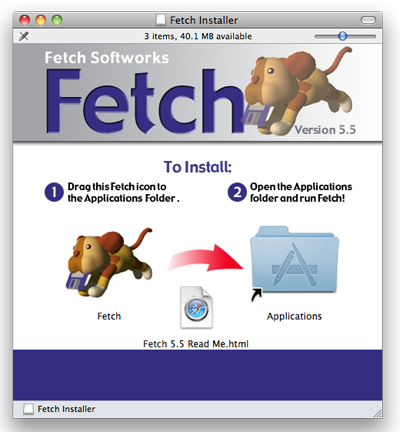
When the files have uncompressed, you should see a disk image icon for Fetch.
- Double-click the disk image.
- The folder contains the icon for the Fetch program and some additional files. Drag the Fetch icon to your Applications folder.
(Note: If you are upgrading from Fetch 4, Fetch 5 will automatically read your Fetch 4 preferences and shortcuts when you first run it, and any saved Fetch documents will work with Fetch 5. You can continue to keep and use Fetch 4 on our hard drive if you wish.)
The first time you run Fetch, you will need the registration information from the UDeploy Web page that was displayed in step 1.
- Double-click the Fetch icon in your Applications folder to run the application.
- On the Welcome to Fetch dialog box, click the Enter Serial Number button.

- When typing the serial number, use UPPER-CASE LETTERS, numerals, and zeros (UD's serial number does not contain any letter "o" characters).
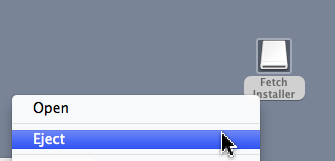
- You can now eject the Fetch disk image from your desktop or hard drive by right-clicking (or hold the control key and click if you have a one-button mouse) on the disk image and selecting Eject from the pop-out menu.
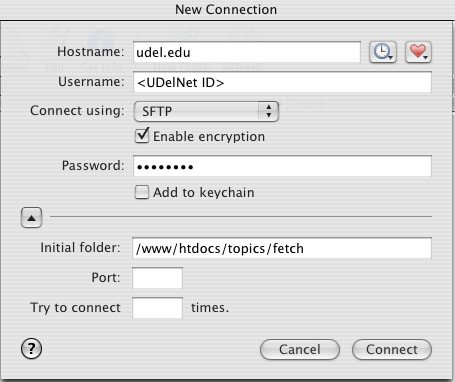
You can proceed with the Starting Fetch 5 directions below, beginning at step 2, using the New Connection window.
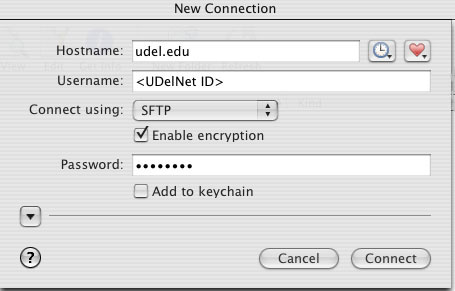
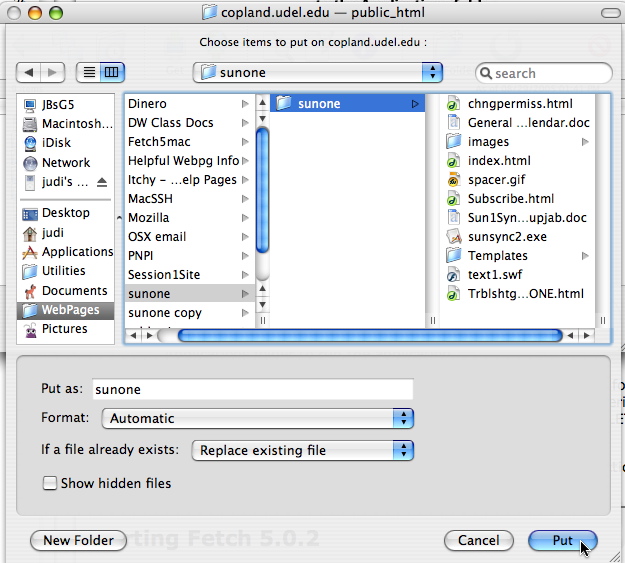
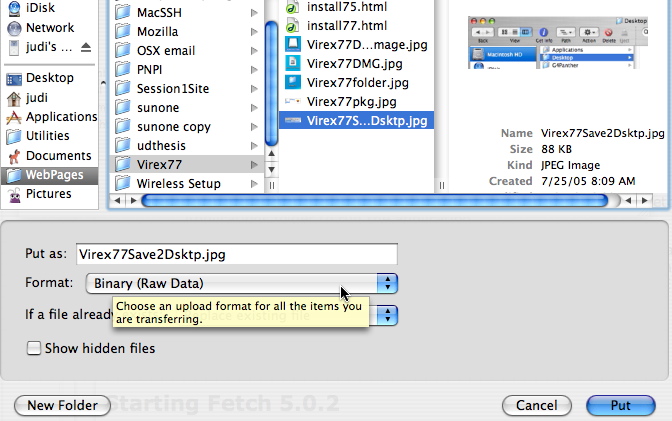
When you transfer files, you put (upload) the files to the remote host or you get (download) the files from the remote host.
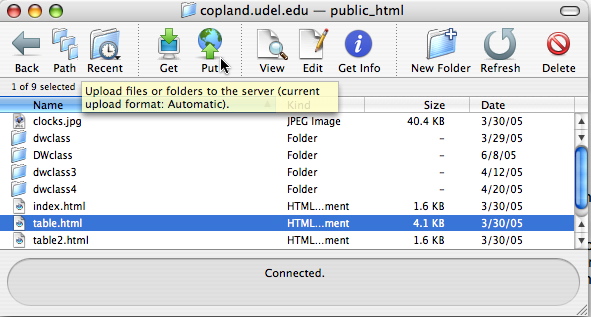
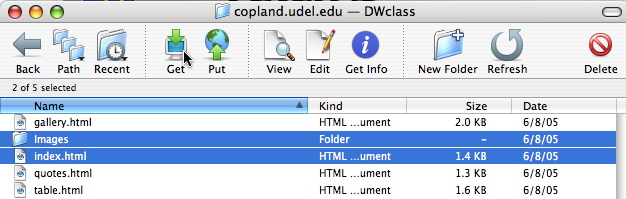
Downloading files and folders is a similar operation. You can highlight a file, several files, or a folder from the list of files and folders at the remote host, then click Get.
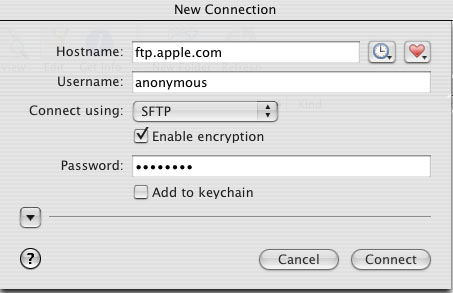
You can move through the folders (directories) on the remote host by clicking a folder name. For example, here is where you begin browsing when you use Fetch to connect to Apple's anonymous FTP site:

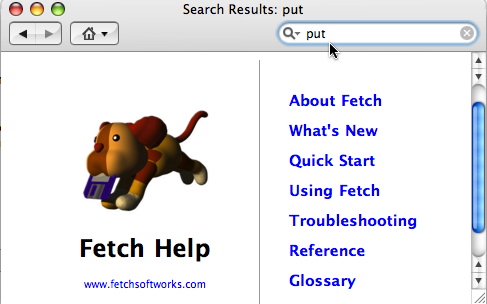
For more information about Fetch, consult the help files that come with Fetch 5.

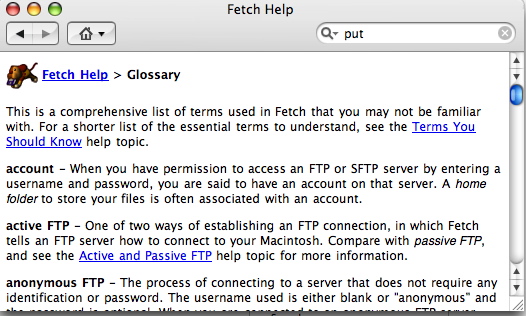
If you don't know what term to use, click on the Glossary for a comprehensive list of terms used in Fetch.
 Search for forms & applications.