| Home
Page
On
this page
Back up encrypted
Windows files
Back up a Windows
certificate
Restore a Windows
certificate
Other Windows Data Encryption Pages
Encrypt
your data
How to
encrypt a folder
How to use
encrypted files
Related Information
How
to Back up Windows data to external media
UD
Information Security Policy
Departmental
Information and Records Management Policies
Encrypt
Macintosh data
IT
Help Center
Last Updated: 8/5/05
Copyright © 2005
University of Delaware |
Back
up encrypted Windows files
Once you have encrypted your data, you must make a backup copy. Follow
the backup
instructions, based on the type of media you wish to use.
Back to Top
Back up a certificate
If you back up your encrypted files using Windows Backup or a third
party backup software, you must also back up the security certificate
from your computer. This certificate associates your account with the
encrypted state of your encrypted files. If your computer fails, you
reset your password, or your computer account is damaged, you will need
this certificate to restore your encrypted files.
How to back up your certificate
- Open Internet Explorer
- From the Tools menu, select Internet Options then
click the Content tab:
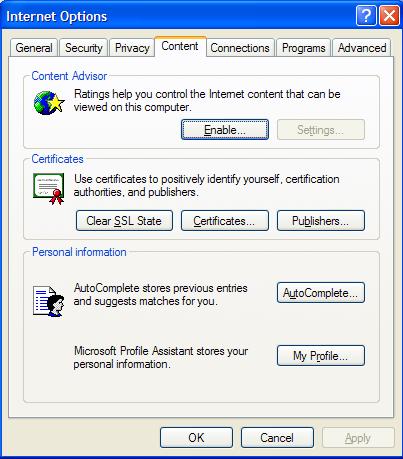
- In the "Certificates" section, click the Certificates
button.
- In the "Certificates" window, click the Personal
tab:
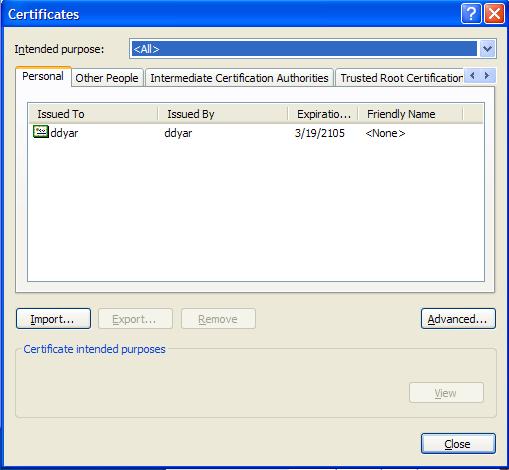
- Click the certificate listed (there is usually just one that refers
to the account you use to log in to the computer) and click the Export
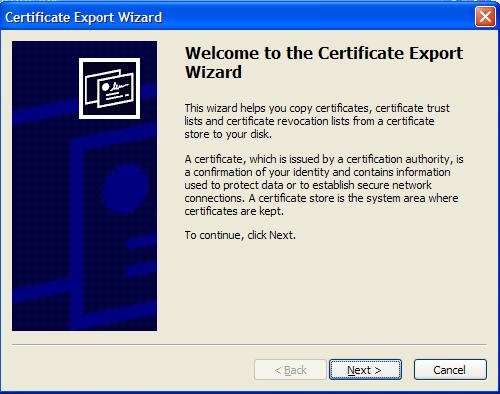
button. You will see the Certificate Export Wizard Welcome
window.
- In the "Welcome" window, click Next:
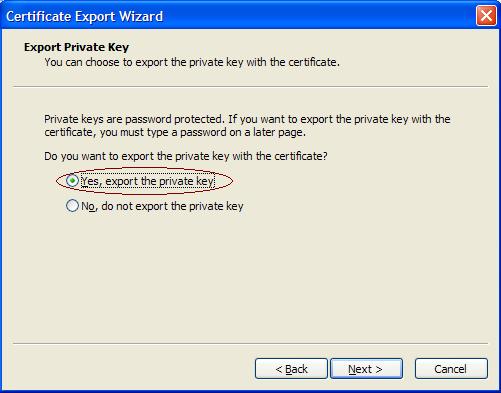
- When you are asked if you want to export the Private key, select
Yes, export the private key then click Next:
- In the "Export file format" window, leave the options
as they are:

- Click Next.
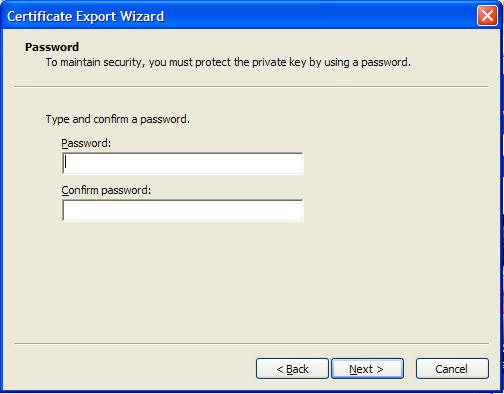
- Next, you are prompted for a password. You can leave this blank
or set a password. CAUTION: If you set a password, be sure
you store it with the backup for the certificate. If you forget the
password, you will not be able to import the certificate on another
machine and restore your backup. The password is not recoverable.
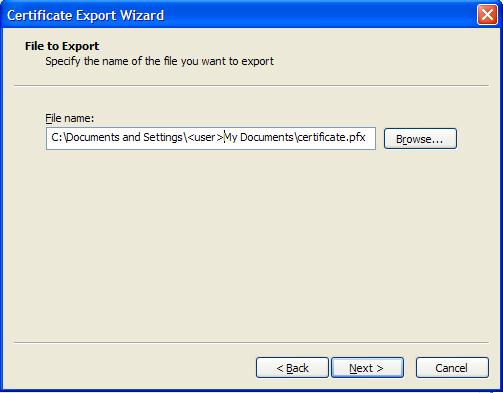
- You can store the certificate on media of your choice. Specify the
location as in the window below. You can store the certificate on
a floppy disk, USB key, Zip drive, or a formatted CDRW. You should
back up the certificate and your encrypted files onto separate
physical media.
- Click Finish to complete the export of the certificate:
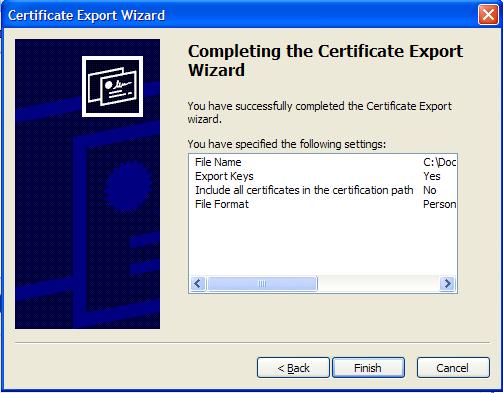
- You will see a box letting you know whether the export was successful.
Back to Top
Restore a certificate
- To import a certificate, load the media containing the certificate
into your computer, then double-click the certificate file. You will
see an Import Wizard Welcome window:
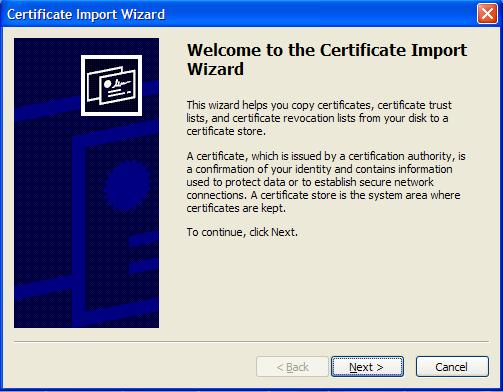
- Click the Next button.
- Choose your certificate by clicking the Browse button and
locating the certificate file on your backup media again:
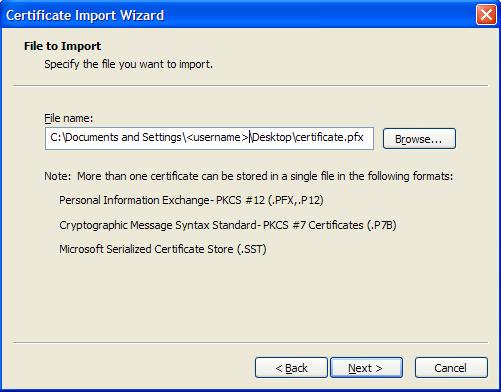
- Click the Next button.
- In the Password window:
- Type the password you set when you exported the certificate. If you
did not set a password, leave the password field blank.
- Select the box next to Mark this key as exportable.
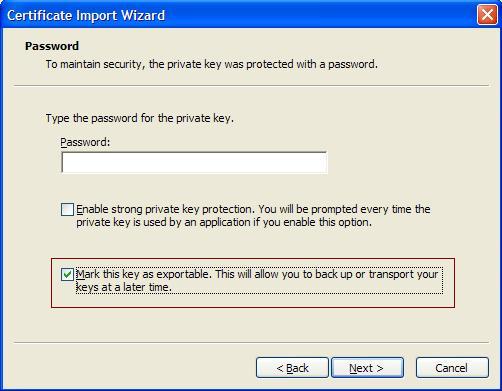
- Click the Next button.
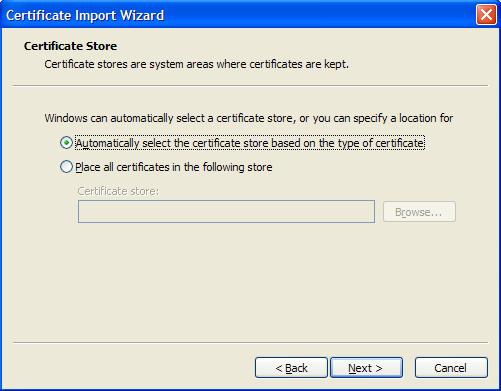
- In the "Certificate Store" window, leave the radio button
set for Automatically select the certificate store based on the type of certificate and click the Next
button.
- In the "Completing the Certificate Import Wizard" window,
click the Finish button to complete the import.
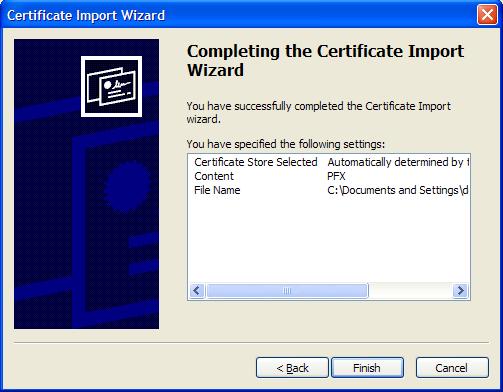
- You will see a box letting you know whether the import was successful.
Back to Top
|